Adjusting the milling spindle
This guide provides a step-by-step process to adjust the milling spindle on a CNC machine to ensure optimal performance and precision.
This adjustment should be performed every 3 months.

Turn off the CNC machine and disconnect power
Ensure the workspace is clean and free of debris
Wear protective gear (safety glasses, gloves)
Open the CNC machine housing
Locate the milling spindle and check its mounting
Ensure the dial indicator is properly zeroed before measurement.
Tip: If there are signs of wear, order a replacement spindle here.
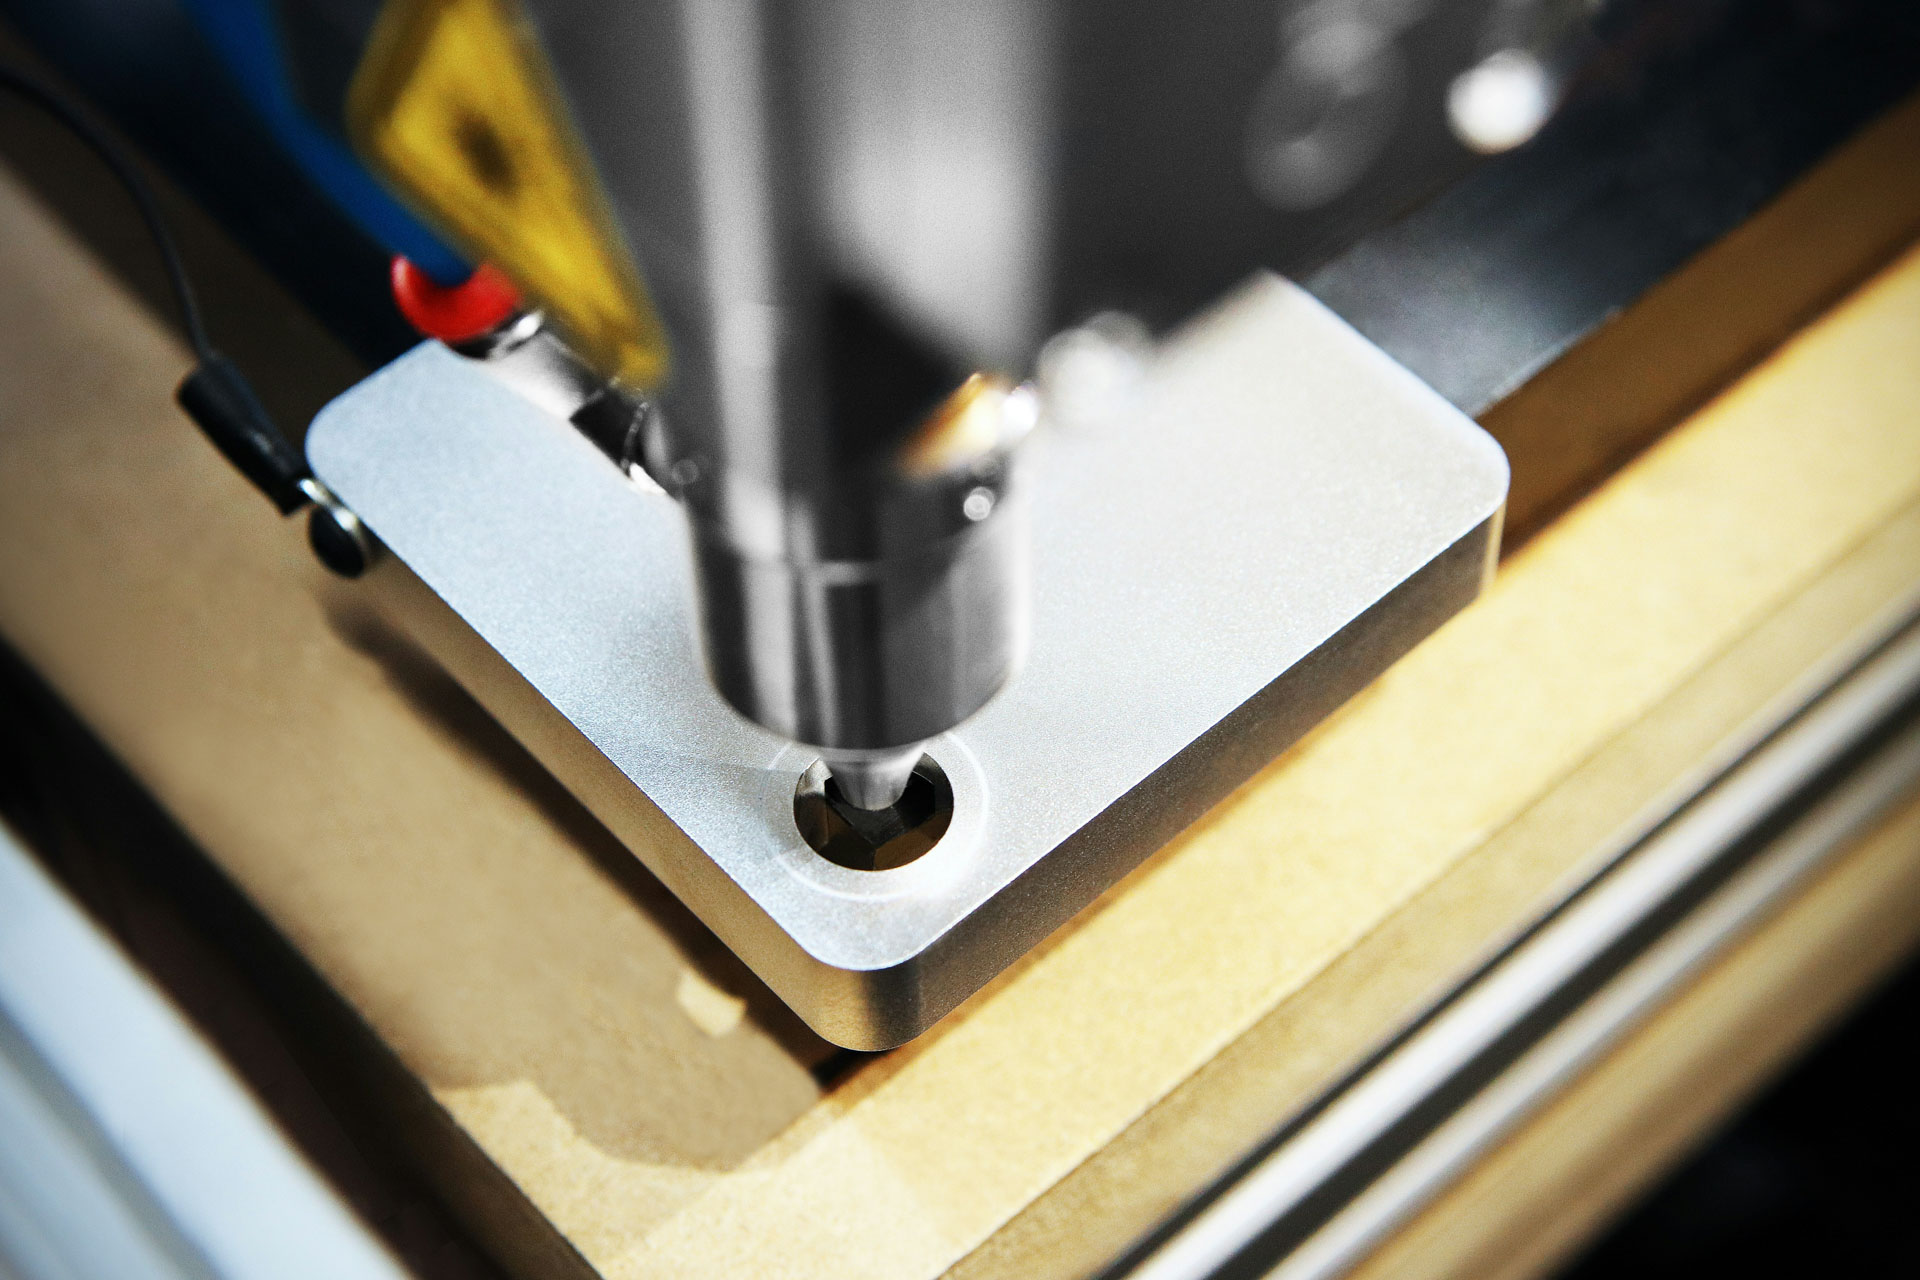
Use a dial indicator to check spindle alignment
Loosen the spindle mounting bolts slightly
Adjust alignment using precision shims if necessary
Retighten bolts and recheck alignment
Dial indicator readings within tolerance
Bolts securely tightened
No excessive vibration detected
Improper adjustments may lead to machine damage!

Apply recommended lubricant to the spindle bearings
Reconnect power and run a test cycle
Check for abnormal noises or excessive heat
If the spindle runout exceeds tolerance, consult a technician!

Run a test cut to verify spindle performance
Inspect finished part for precision and accuracy
Spindle alignment successfully adjusted.
📑 Spindle alignment guide (PDF)
📑 Lubrication specifications
Generate a QR code for this page to easily share or print the link. The QR code contains the current URL, allowing quick access to this article in the real world.
knowHERE On-the-Job Assist Theme
Powered by Scroll Sites & Atlassian Confluence
tests